{Painting the Wings
25th - 27th July 2008 I decided to ask a spray-painter mate of mine (Charlie, who is a tug pilot at Lake keepit) to help with painting the aircraft. He is a professional spray painter with all the good gear, and he had done some nice work on some gliders and he was keen to be involved. So I rolled up on Friday 25th July 2008 with both wings, tools and a heap of enthusiasm to get going.
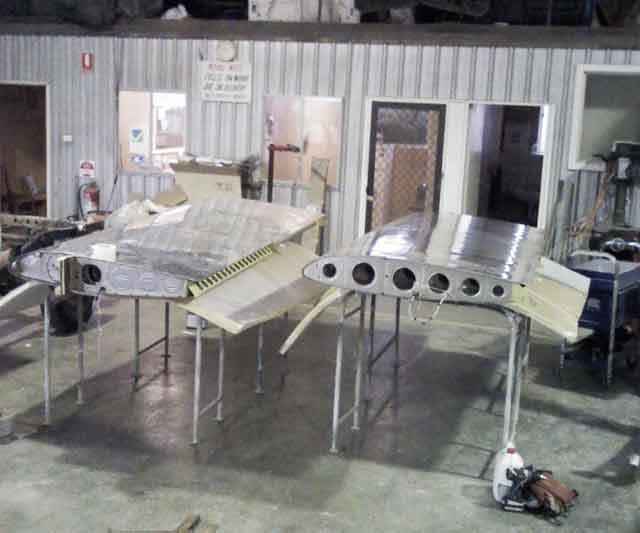
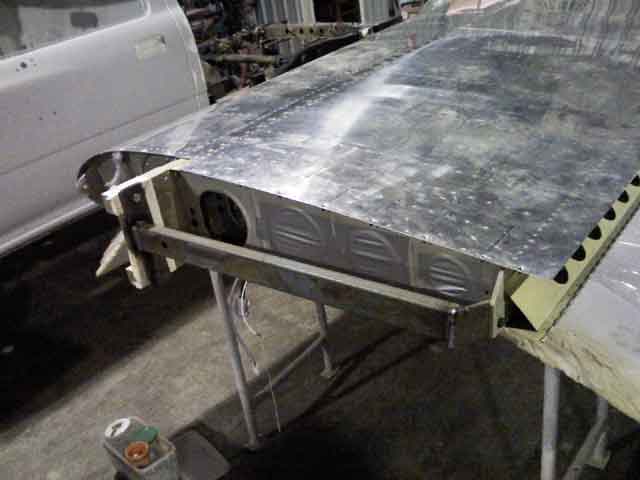
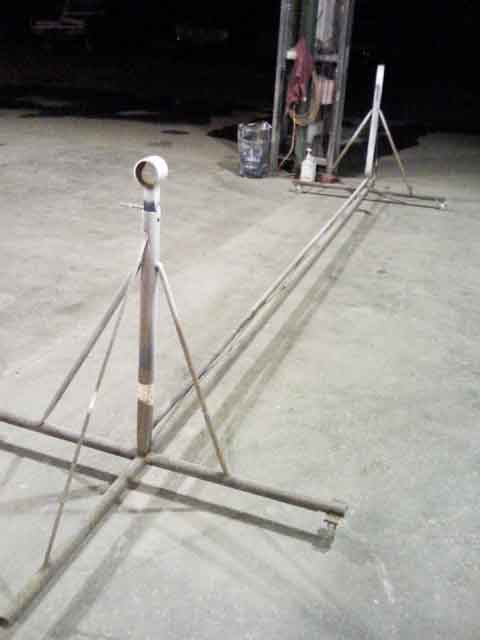
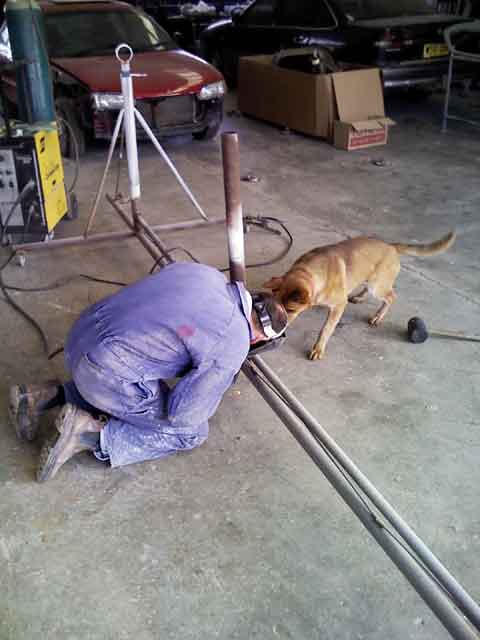
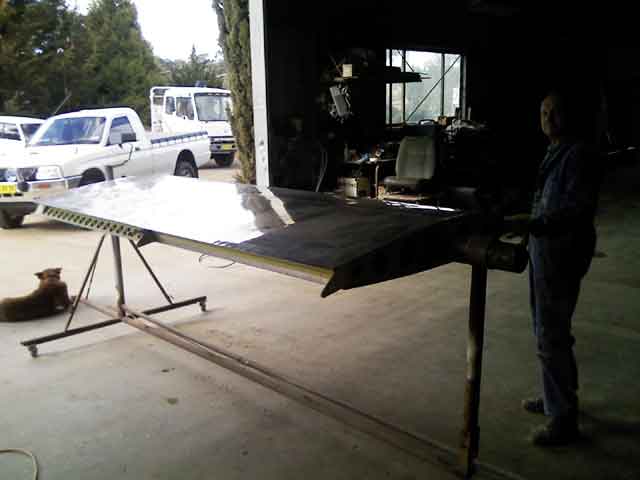
Image 1 shows my wings in his workshop, supported on two benches. Charlie is pretty meticulous, and he expained how we needed to make up a temproary jig to hold the wings' surfaces LEVEL for spray painting. He has this special heated and ventilated booth for spray painting, and he wanted the wings to be level for the best outcomes. He had already built a jig of sorts for a Cessna wing, and we proceeded to modify this to take the RV wings. Image 2 shows the part of this jig that supported the inboard spars. A piece of square section steel separates two pieces of steel plate which are drilled to match the wing mounting holes in both main and rear spars (image 2). Image 3 shows the Cessna version of the jig - much too wide for my needs. Charlie and his dog "Rex" (image 3) welded a piece of pipe to this jig (image 5) at the right position to match the width of my RV wings. Image 6 shows the wing mounted in the modified jig. The outboard wing is supported by a piece of 4" tube steel (truck exhaust pipe!) which slotted neatly into the lightning holes of the outboard wing. I spent about two hours treating the wings with a hgydrocarbon solvent (Prepsol) and Alumiprep/Scotchbrite, before finally washing the wings with water. We rolled the right wing into the spray booth and i spent another 1/2 hour wiping the surfaces with 50/50 water/meths to remove any oily residue.
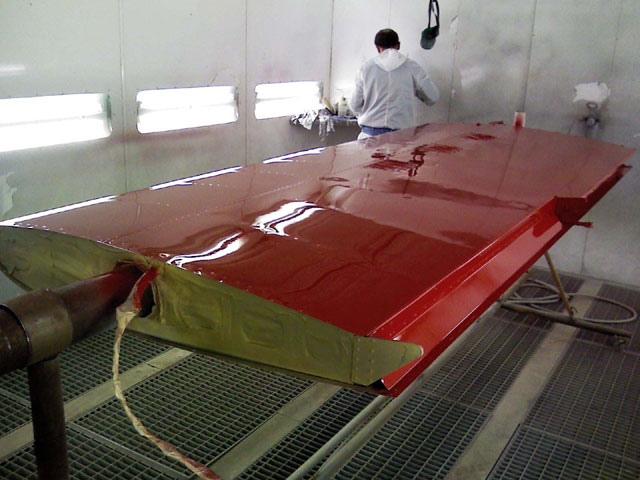
Finally we clased the door, turned on the ventilation and Charlie worked his magic with the spray gun. First one side, then rotate the wing 180 degrees using the jig, for the other side. The final outcome in in Image 7. Yep, its gonna be a RED airplane!! I am very very happy with the result. He used special PPG epoxy etch primer and undercoat, followed by two coats of PPG paint.It will be a little heavier than the Vans method, but I am not worried. I need to lose a few punds anyway.
|
In the workshop |
Spar-side jig support |
Cessna jig |
Modifying (woof!).. |
to an RV jig |
Wing mounted |
and painted in booth |

}