|
QUICK BUILD FUSELAGE The Quick Build fuselage comes with the firewall, bulkheads, stringers, longerons and most sheet complete. Major unfinished components include the control column and hardware, the tailwheel support, cabin hardware, instrument panel, wiring and of course the engine-related components. The major bulkhead and sheet work is almost complete. Everything is treated with a pretty tough "wash" promer, ready to be painted.. In this section I will try to outline the QB building sequence involving those jobs which need to be completed in some kind of orderly sequence. At this stage I can identify the following jobs:
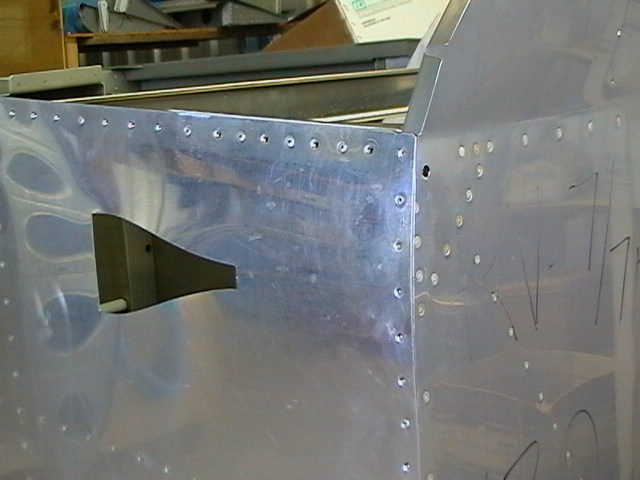
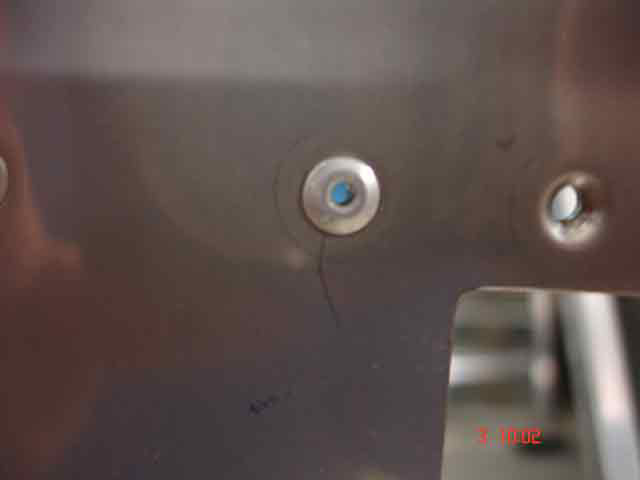
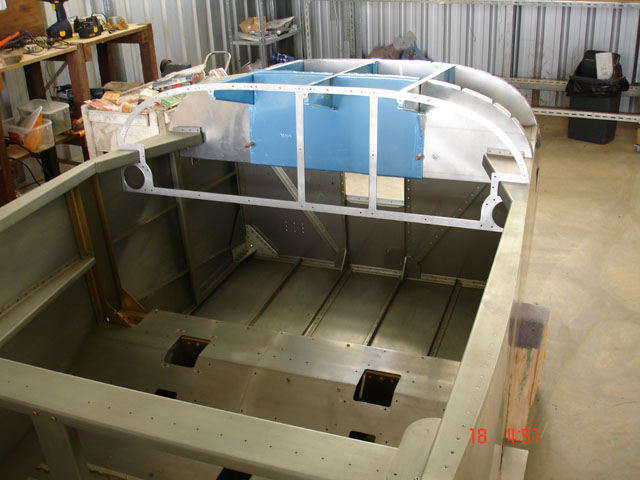
General The fuselage is the core of the aircraft and so there are many detailed tasks in there which need to be completed. Like most QuickBuilders, I cannot follow the Van's Intruction Manual to the letter, because they relate in detail to the specific sequence of the slow-builder. I am working through the manual with mi highligher, and at the same time trying to analyse the exact sequence which I need to follow to avoid any "gotcha!" stuff-ups. By nature the completion of the Quick Build fuselage is a discontinuous piecemeal affair (unlike the slow build, where every loose component needs to be added in the right sequence). The QB fuse comes with some components temporarily attached by pop rivets. Most of the time, these need to be drilled out and the components extracted, worked on, and then reinstalled with permanent rivets - such components include the firewall, the aft bulkead assembly and the baggage compartment floors (see below). Note how thin the temporary rivets are. They drill out very easily. At this stage I am able to cleco the front fuselage bits in place with the "Modular Panels XL" panel skeleton. In some cases, perfectly good permanent rivets have to be drilled out (see fuee tank bracket attach in the "Foreward Fuselage structures" section). A good approach is to keep an open mind and not hurry too much.
My choice is to attack the various tasks in sequence and, if I get held up on one task, to use the time on another. So the notes in the links above need not be in temporal sequence. but the headings will designate each of the tasks and how I completed them.
|
||||||||